A patchy or weathered metal fence can quickly bring down the look of your exterior. With the right preparation and coating system, you can restore your fence and protect it from rust for years to come.
This guide follows the exact process shown in the White Knight Rust Guard fence project: clean, treat rust, prime with True Bite Primer, then apply two coats of enamel for a durable finish.
What you’ll need
- Clean cloth or brush
- Hose or water source
- Drop sheet or masking materials
- White Knight Rust Guard Rust Converter
- White Knight Rust Guard True Bite Primer
- White Knight Rust Guard Advanced Enamel Paint
- Corrugated roller & pole (if painting a corrugated fence)
- Safety gear, including gloves, mask and eye protection
Step 1: Clean the fence thoroughly

Start by giving the fence a thorough clean to remove dirt, dust and grime. This is a critical first step, as any contaminants left on the surface can affect adhesion and the overall performance of the coating system.
Allow the fence to dry completely before moving on.
Step 2: Treat rusted areas

Apply White Knight Rust Guard Rust Converter to any rusted sections of the fence. This product chemically converts rust into a stable surface, helping to stop further corrosion and prepare the area for painting.
Make sure all affected areas are covered and allow the product to dry as per the label instructions before priming.
Step 3: Apply primer

Once the surface is clean and rust has been treated, apply a coat of White Knight Rust Guard True Bite Primer.
True Bite Primer is designed to maximise adhesion on metal surfaces, creating a strong bond between the substrate and your topcoat. It also helps provide a uniform base, which improves the overall finish and durability of the system.
Apply an even coat across the entire fence, ensuring edges, joins and detailed areas are well covered.
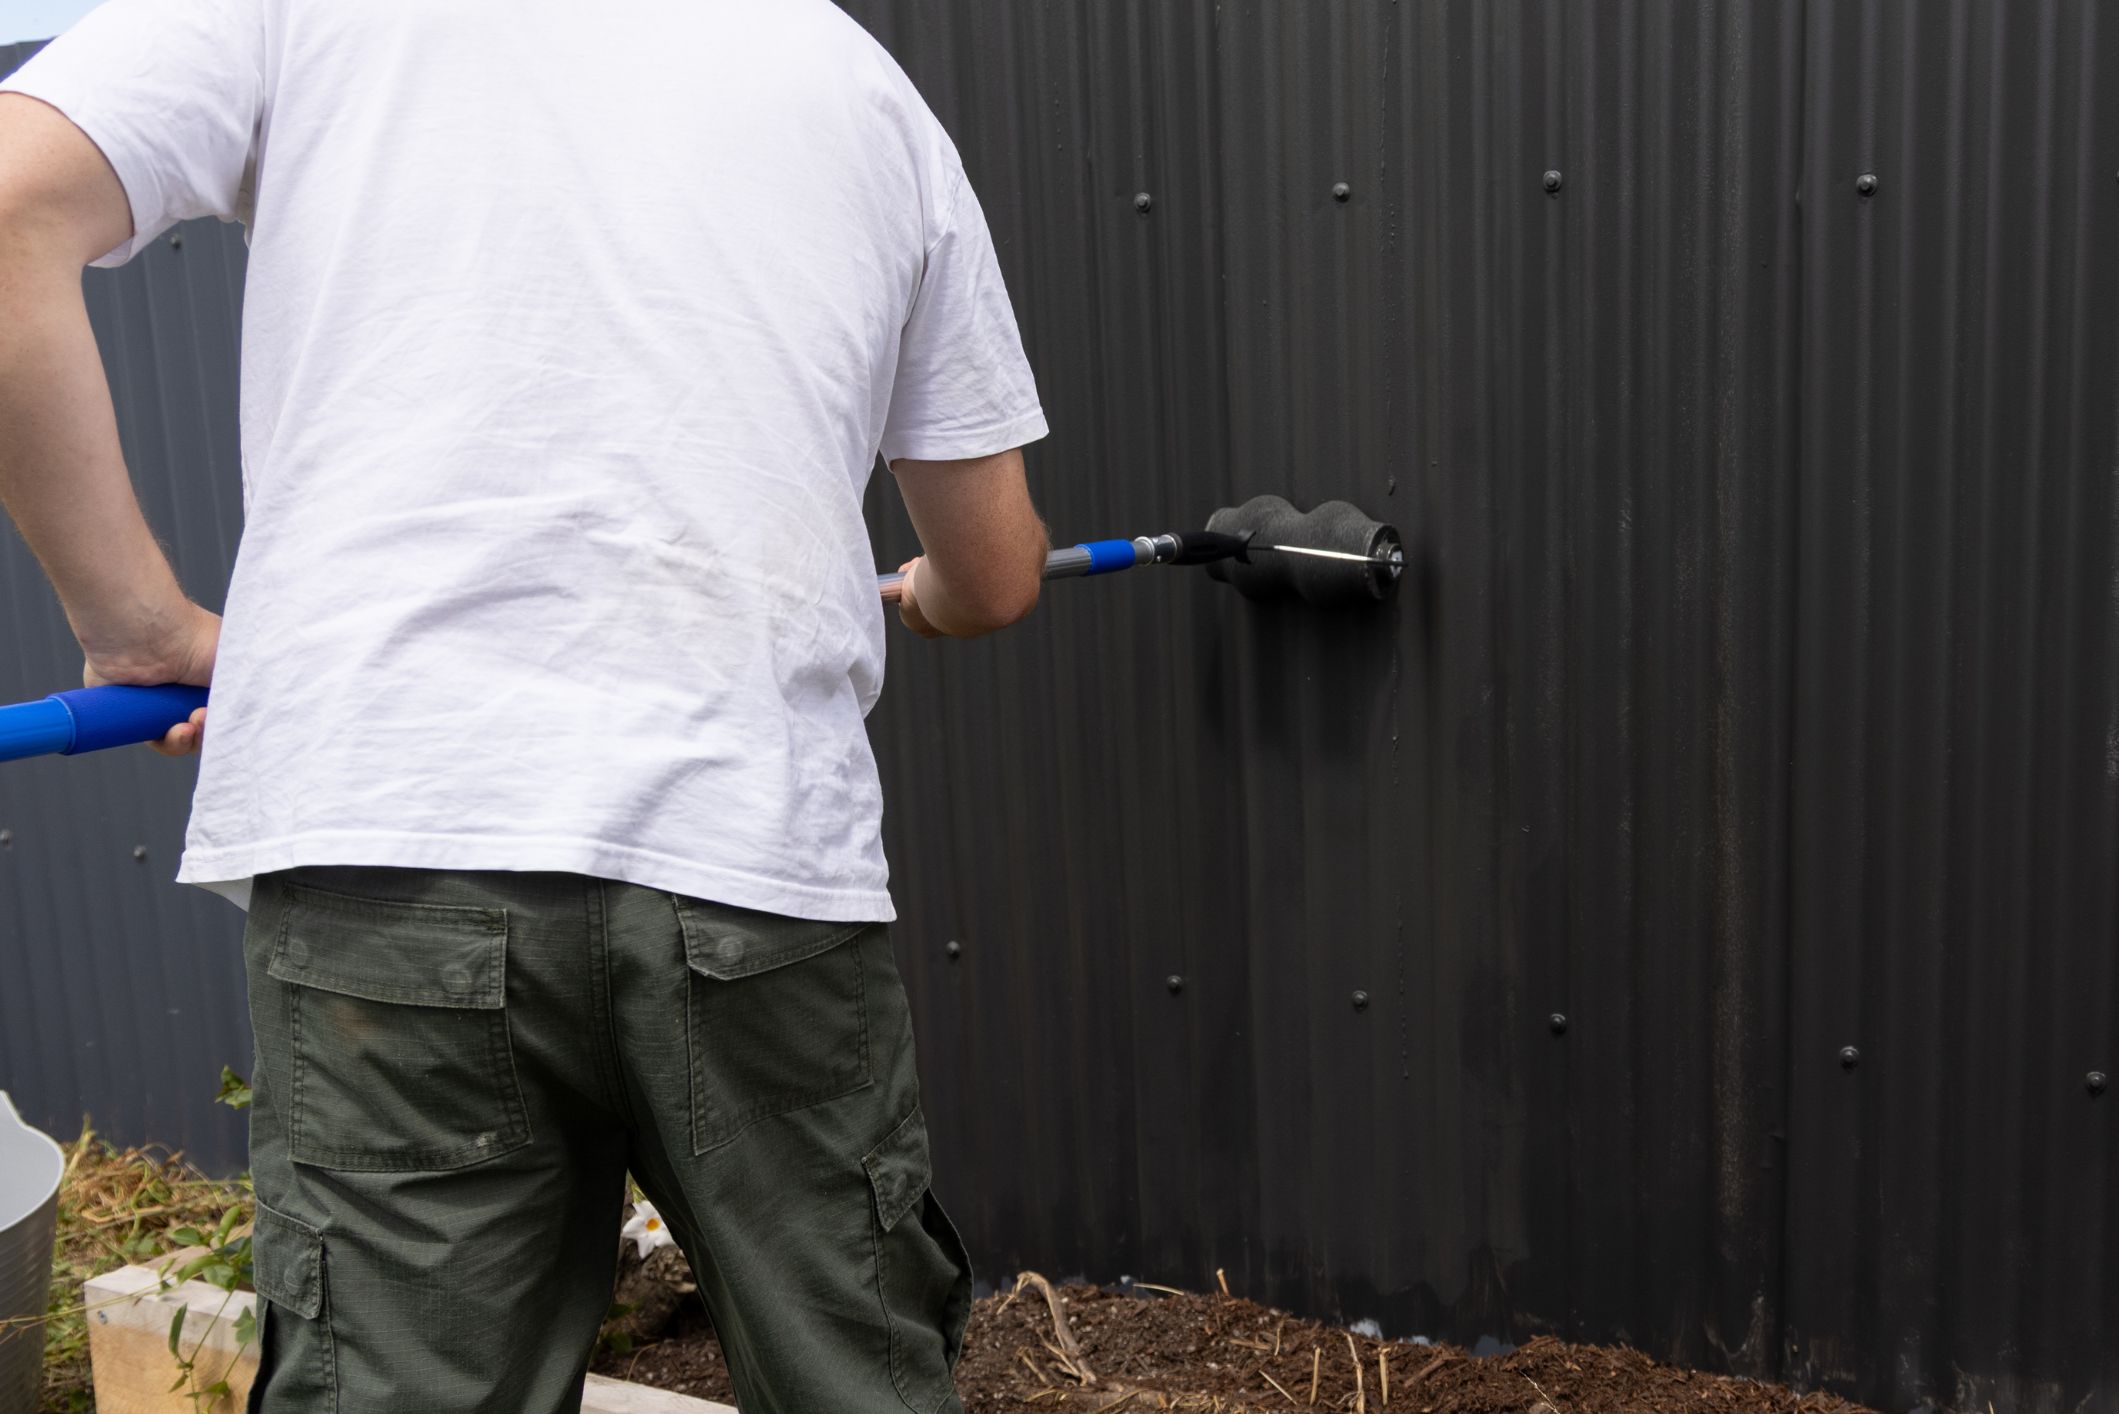
Step 4: Apply the first coat of enamel

After the primer has dried, apply your first coat of White Knight Rust Guard Advanced Enamel Paint.
This enamel is formulated for metal protection, delivering a tough, durable finish designed to withstand outdoor conditions. It also provides excellent coverage and a smooth, consistent appearance.
Use even strokes and keep pressure consistent to achieve a clean, even finish across the fence.
Step 5: Apply the second coat
Allow the first coat to dry, then apply a second coat of Advanced Enamel.
The second coat builds depth of colour, improves coverage and enhances the protective barrier, helping your fence stand up to weather and everyday wear over time.
Final result

With the right prep and a complete Rust Guard system, your metal fence can go from patchy and weathered to clean, protected and looking sharp.
All products used in this project are available at your local Bunnings, making it easy to get everything you need to complete the job in one trip.