DIY Custom Esky with White Knight Squirts
Summer gatherings are all fun and games… until someone “accidentally” grabs your drink from the esky.
Luckily, we’ve got a #CanDo solution: personalise your esky with White Knight Squirts so it’s unmistakably yours. Bold colours, clean lines and a touch of creativity = no more mix-ups.
What You’ll Need
An esky (any size works!)
White Knight Squirts (40+ colours to pick from)
White Knight Undercoat (for best adhesion)
Masking tape
Paper or plastic for masking
Cleaning cloth
Step 1: Clean Your Esky
Start by wiping down your esky to remove dirt and dust. A clean surface helps the paint stick and ensures a smooth finish.
Step 2: Mask the Top
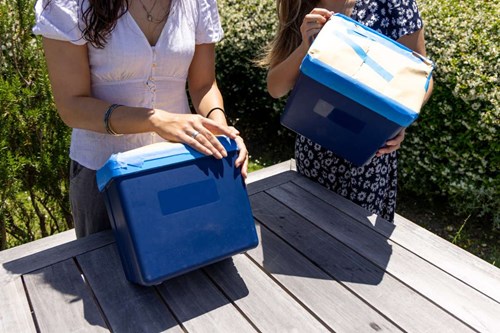
Use masking tape and paper to completely cover the top lid of the esky. This keeps the paint exactly where it should be and not on the part you open and close a hundred times a day.
Step 3: Prime
Before painting, apply a coat of White Knight Plastic Primer.
This gives the paint maximum adhesion so your esky survives sand, splashes and every backyard BBQ that comes its way.
Step 4: Apply you Base Coat
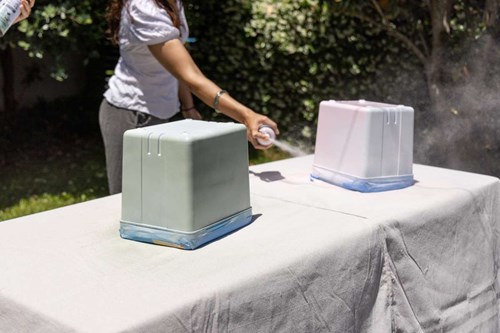
Once the plastic primer is touch dry, spray on your base coat in smooth, even passes.
Let it dry fully before moving on.
Step 5: Customise Your Design
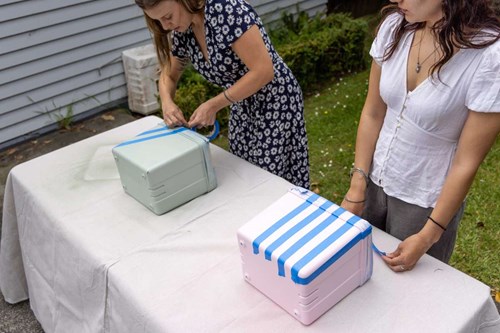
Once your base coat is dry grab your masking tape and start designing; stripes, angles, zig-zags, colour blocks, whatever screams “hands off, these drinks are mine!”
The tape will help create crisp patterns when it’s time for the reveal.
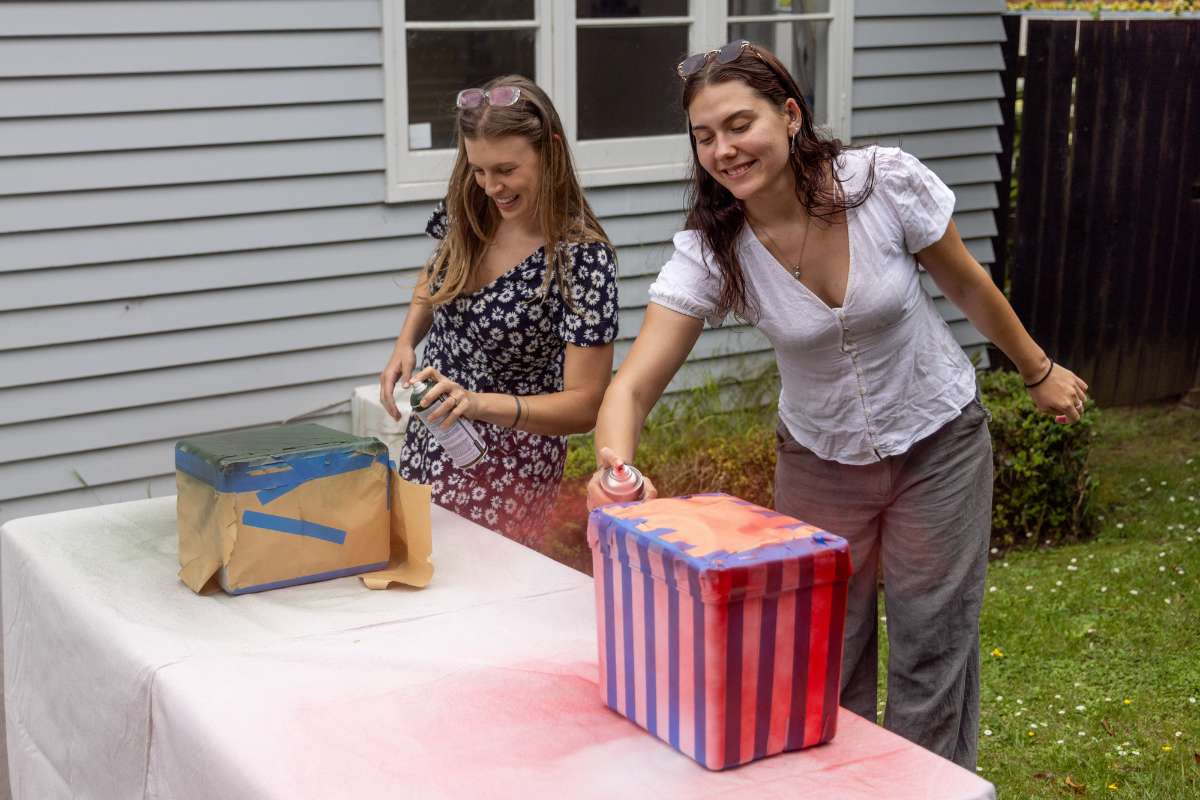
Step 6: Add a Contrasting Second Colour
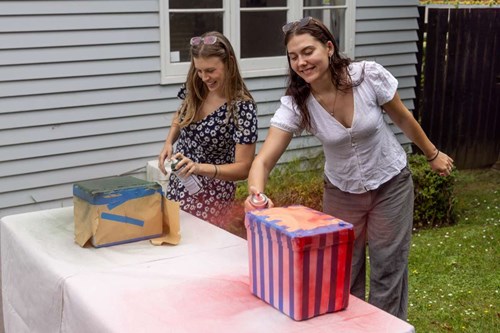
Go bold with a secondary contrasting colour! Spray evenly across the taped design. Let it dry until touch dry.
Step 7: Peel, Reveal & Admire
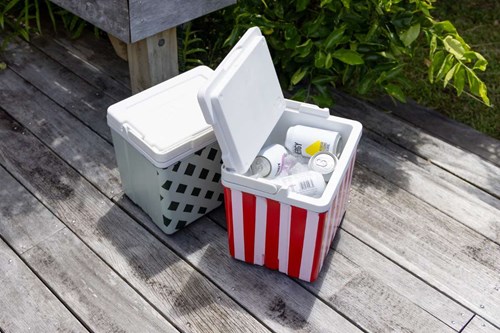
When the paint is touch dry, carefully remove your masking tape to reveal crisp, clean lines and your custom artwork.
Your esky now officially has a personality and a warning: Hands off. Drinks claimed.
Another simple, creative, budget-friendly #CanDo project complete.